How To Setup ConvertBox
These are step by step instructions of how to setup Dean Saunder’s ConvertBox, previously known at ConvertBar.
Not going to go into the pros and cons of ConvertBox here, will save that for another post. The goal is to get you up and running with ConvertBar as quickly as possible.
ConvertBox Setup
Last update: 17 June 2018
Buy ConvertBox
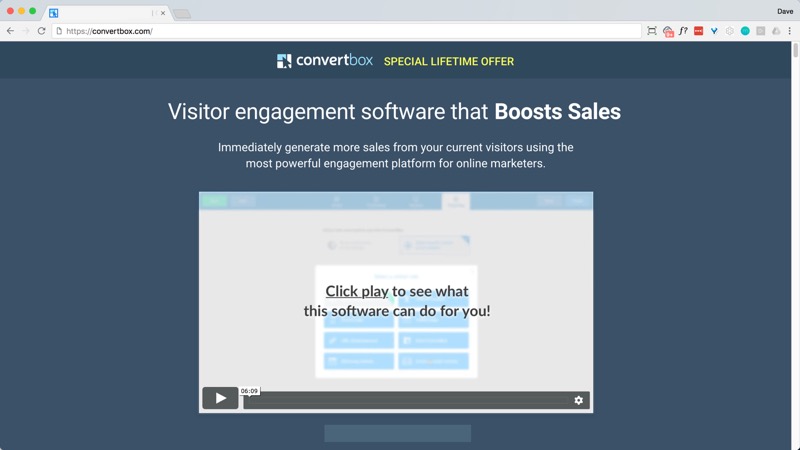
No surprise there. You need to buy ConvertBox. ConvertBox is a software as a service product that delivers on-site (WordPress or other sites) messages for visitors to help generate, segment, signup and get more customers.
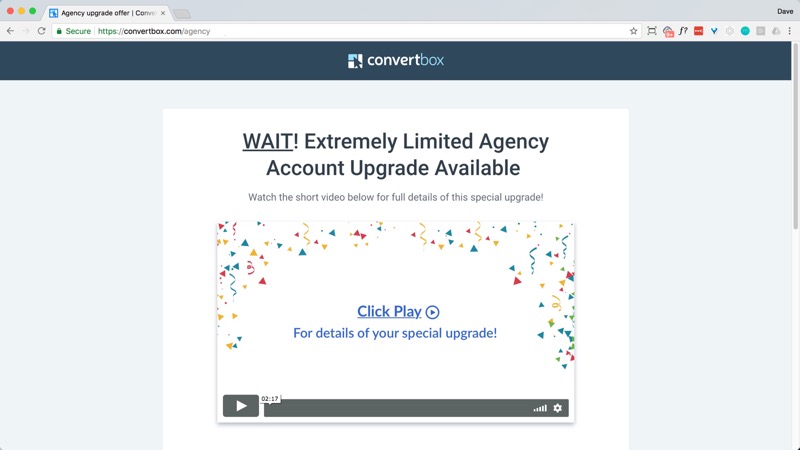
You may or may not be presented with an upsell offer to buy the Agency version.
With the Agency version you are able to use ConvertBox on your client’s sites and charge them for that service. You are able to use ConvertBox with no branding on personal and client sites. Perfect if you are providing online generating services.
Keep in mind that the Agency license does NOT give you access to resell the ConvertBox platform. In other words, you can use ConvertBox to create, manage and track all your client’s offers and promotions … you just can’t give your clients their own access to ConvertBox.
Create Account
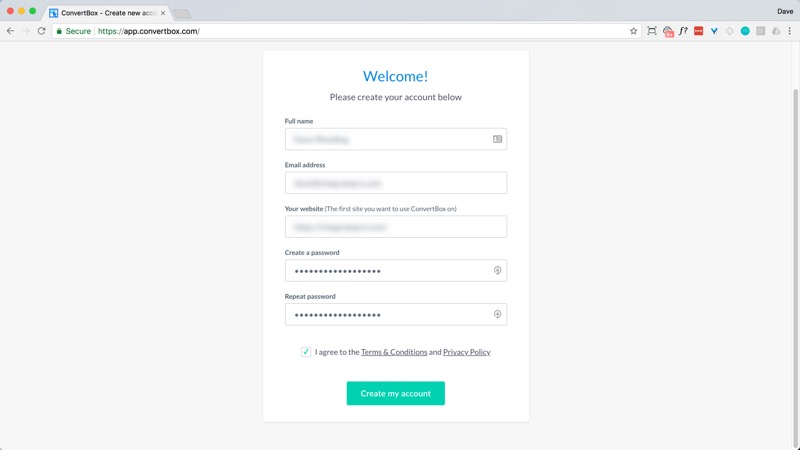
Once you have successfully purchases ConvertBox you will be prompted to create an account.
It is straightforward enough. Provide your first and last name, email address (which can be different then the email address you used when purchasing), your website and create a password.
Dashboard
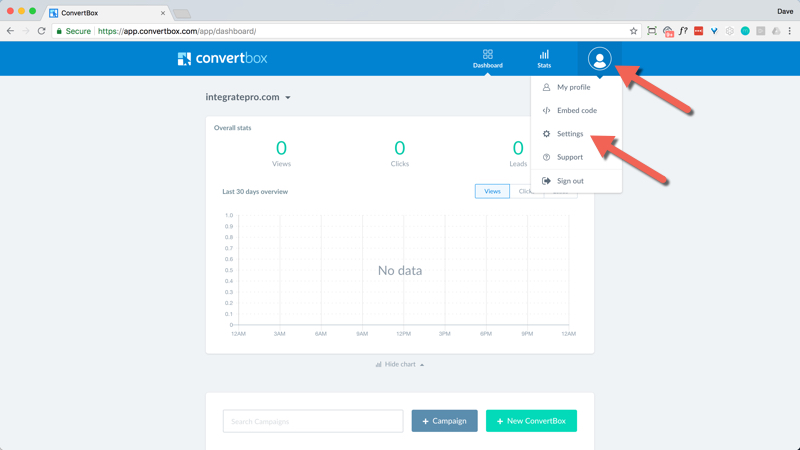
Once registered you arrive at the clean dashboard.
Along the top are links to the dashboard, stats and settings.
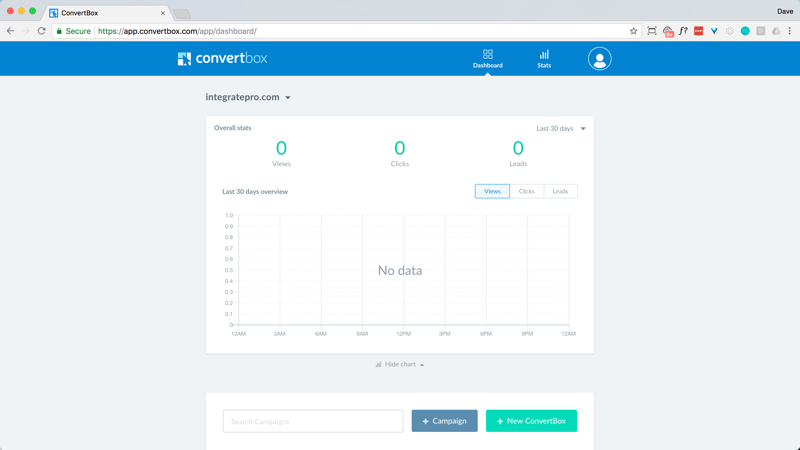
Start by clicking on the person icon in the upper right hand corner. This will allow you to connect your email autoresponder to your ConvertBox account. Settings > Integrations.
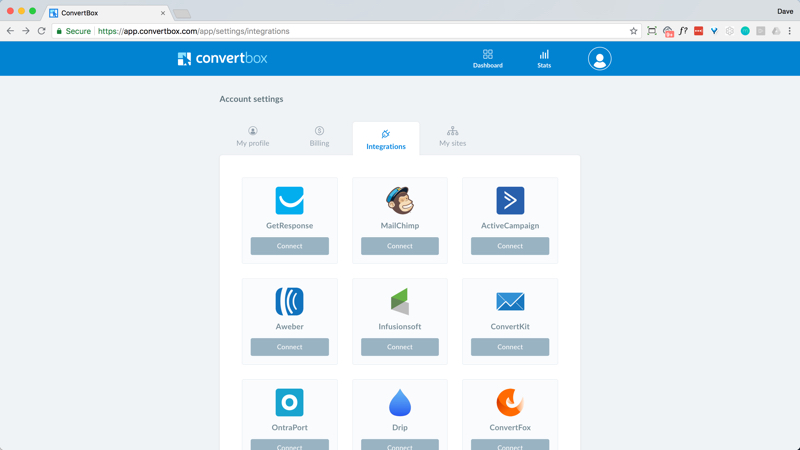
Currently ConvertBox integrates with:
- GetResponse
- Mailchimp
- ActiveCampaign
- AWeber
- Infusionsoft
- ConvertKit
- Ontraport
- Drip
- ConvertFox
- MailerLite
- Webhooks (this Zapier)
- Custom HTML Form
Choose the appropriate service and follow the instructions.
I setup ActiveCampaign.
You will need to login to your ActiveCampaign account. Go to Settings > Developer and copy the API Access URL and Key.
Paste those into the Integration settings in ConvertBox, provide a name (useful because you can add multiple email accounts from the same email provider).
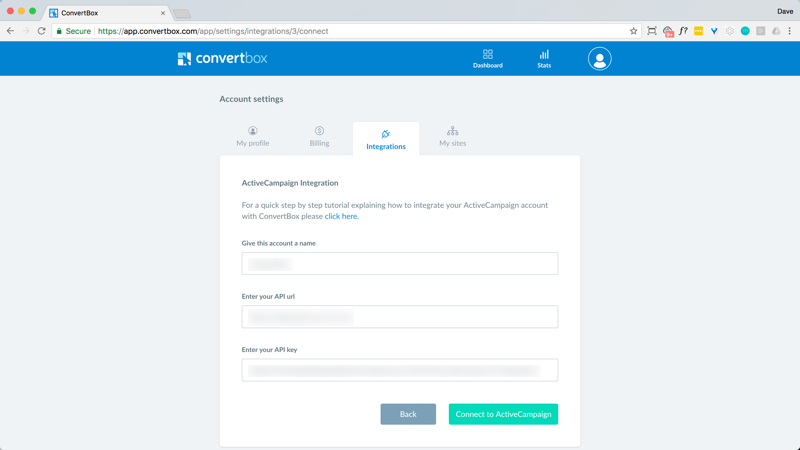
Click Connect ActiveCampaign and you are integrated.
Create A Campaign
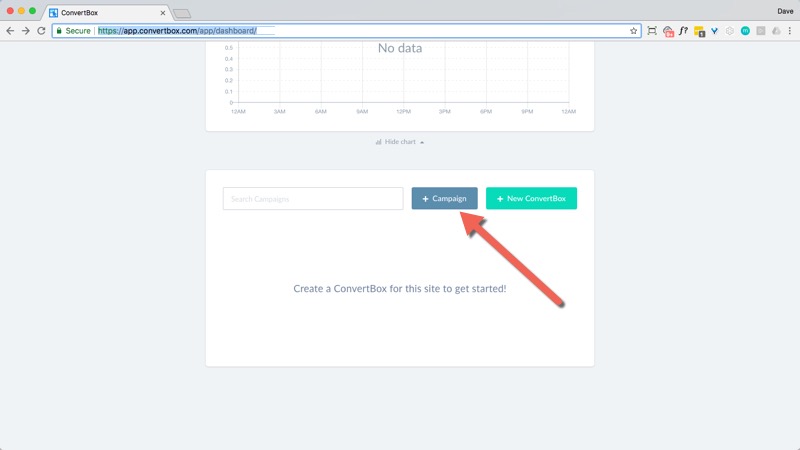
Back to the dashboard and click on the + Campaign button.
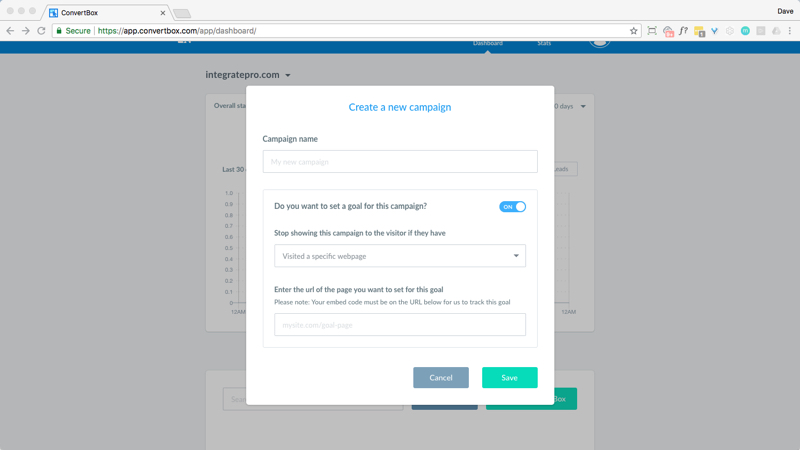
Provide a Campaign name and optionally decide if your want to set a goal for this campaign.
If you do choose yes for a goal, you have the option of either Met the goal of any ConvertBox inside this campaign or Visited a specific webpage. It is important that the embed code must be on the URL for it to be tracked.
Not to worry, ConvertBox is kind enough – or smart enough to have thought about – requiring you to install the embed only once … even if you have multiple ConvertBoxes installed.
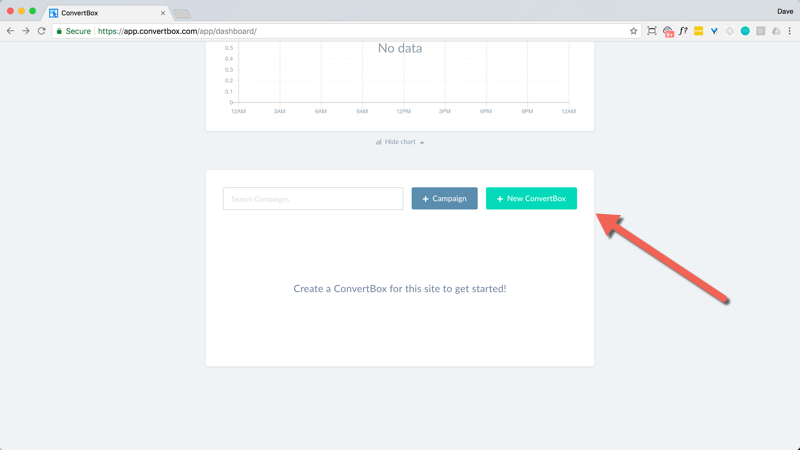
Create A New ConvertBox
Click the + New ConvertBox button to get started.
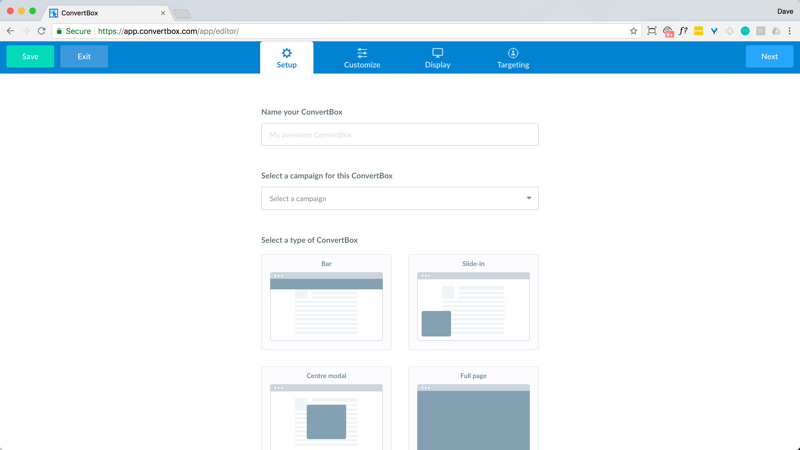
Setup
Provide a name and select the campaign for this ConvertBox that you just created.
Then select the type of ConvertBox you want to install on your site.
- Bar (top or bottom of the page)
- Slide-in (from top left, bottom left, top right, bottom right)
- Centre modal
- Full page
Click the Next button at the top right to continue.
Customize
Choose the elements you want to display on the page.
- Profile
- Headline
- Sub headline
- Image
- Video
- Buttons
- Opt-in form
- Countdown
Depending on the type of ConvertBox you choose, the option choices may be different.
If you toggle the On / Off button, then click on the element, you will see the options available for that element.
Profile
You have the optin of uploading an image, providing a profile name and profile title. All are optional.
Headline
Provide the headline and optionally change the color.
Sub headline
Provide the sub headline and optionally change the color.
Buttons
You have to choose either Buttons or Opt-in form, you can’t choose both nor can you choose neither.
You can have up to 3 buttons, just click the plus sign that appears underneath each of the first two buttons to create another button.
Add text to the button and optionally change the color.
The buttons options are to link to a web page, open a second step, or close the ConvertBox. Choosing to open a second step is a good way to do a mini quiz for segmenting your visitors. If you do have that second step, you can edit it by clicking the button and clicking the Edit step 2-> option. If you are thinking you can just keep connecting another step and ask more questions … you can’t, at least not right now (though it is a feature request). At the second step the only options are to go to a url or close the ConvertBox.
Opt-in form
If you do choose Opt-in form instead of Buttons, be sure to click on the form element to enable the Autoresponder actions button to connect your autoresponder to this ConvertBox.
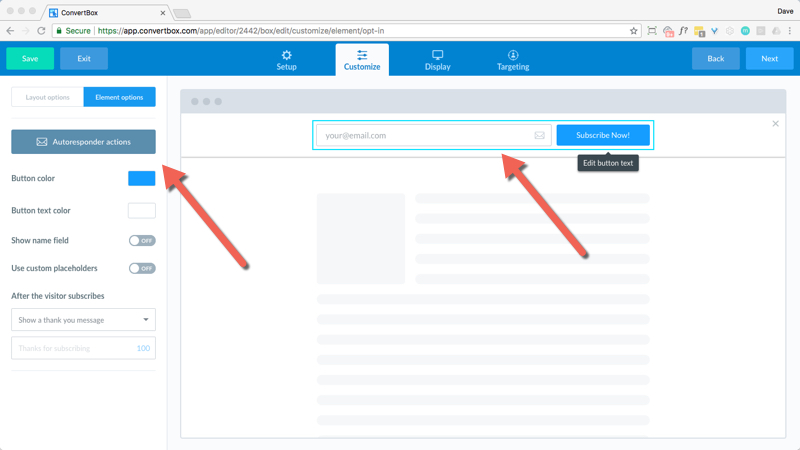
This will pop open a modal window allowing you to select a service provider and what action you want to perform when the visitor subscribes.
In the case of ActiveCampaign, you can:
- Add to list
- Remove from list
- Add to automation
- Remove from automation
- Add existing tag
- Remove existing tag
- Add new tag
You have the option to add multiple actions.
My advice, only add your contacts to one action. Make that action be add to automation. There is no reason to make ConvertBox do the heavy lifting of adding a tag, removing a tag, unsubscribing from one list and putting them into another list.
Let the email service do the heavy lifting and only have ConvertBox do one thing.
Countdown
Countdown timer has two options: start timer if visitor views ConvertBox or End timer on a specific date.
Here is an idea, have the countdown timer start via webhook … this could be an alternative versus of Deadline Funnel. Just a thought 🙂
If you choose to start timer if a visitor views ConvertBox, then you have the option of setting the length of the countdown timer in day, hours, minutes. You decide what happens when the countdown timer ends: Stop showing ConverBox to visitor, Restart countdown on the next visit, Redirect page to another URL. You have full control over the color of the countdown timer and you can even customize the labels for days, hrs, mins, secs.
If you choose to end the timer on a specific date, then you select when the countdown timer should end. The date and time is set using your local time zone. Colors and labels can be modified.
Display
You have the option to Show this ConvertBox on pages of my websites or Show this ConvertBox on a link I’m sharing.
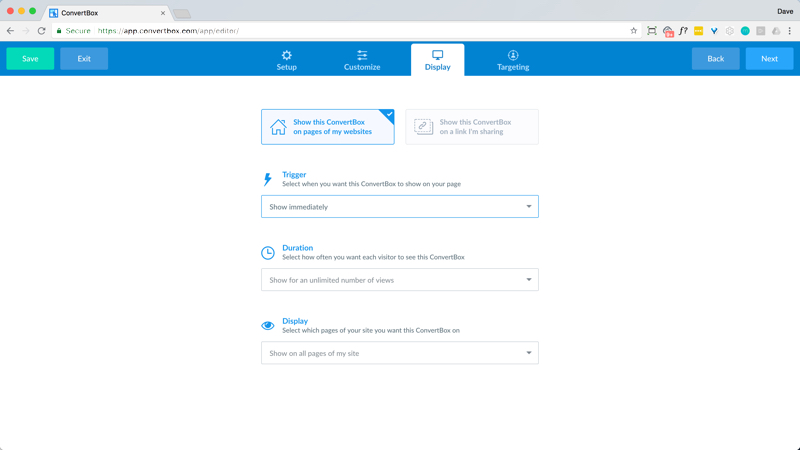
Websites
Your options include when to trigger the ConvertBox to show on your page.
- Show immediately
- Show after specific time (in seconds)
- Show on page scroll percentage
- Show if visitor tries to leave the page
- Show if visitor clicks a link on my page (you have to use the special code ConverBox provides, ex – #cb1954082g)
The duration can be Show for an unlimited number of views or shown to each visitor for a maximum of views that you specify and views per day (1, 2, 3, 4, 5, or 10).
Display can be on all pages or specific pages of your site. Nicely, you can choose to include or exclude and do so by matching on (1) All URL’s starting with, (2) On this exact URL, (3) All URL’s containing. You can also stack more rules.
Links
You can have a ConvertBox on a page that you link to. ConvertBox provides you with a custom url to send your visitors to.
Similar to a ConvertBox that is shown on your page, you can trigger this to show immediately, show after specific time (in seconds), or show if a visitor tries to leave the page.
The duration can be Show for an unlimited number of views or shown to each visitor for a maximum of views that you specify and views per day (1, 2, 3, 4, 5, or 10).
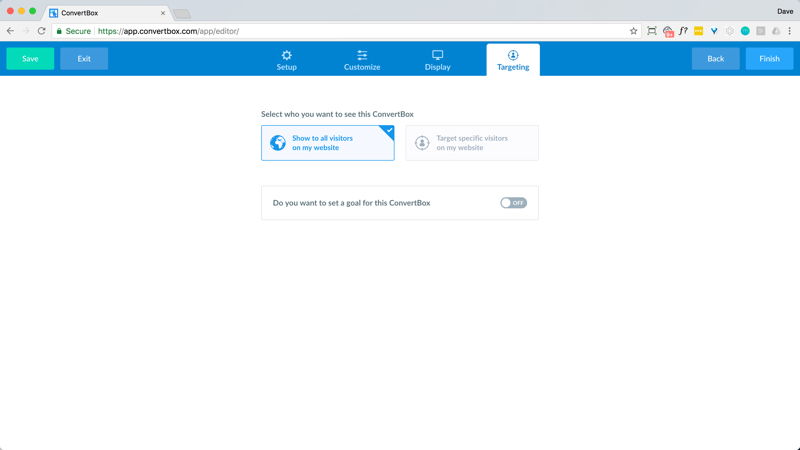
Targeting
You can choose to show your ConvertBox to everyone or use the powerful capability that ConvertBox offers including.
- Number of visits
- Visitors location
- Device type
- Visited page
- URL string keyword
- Seen ConvertBox
- Referring website
- Autoresponder activity
Number of visits
New visitor or returning visitor. For returning visitor, you specify the number of times or more that the visitor has been on your site. A new visit is counted once a visitor has been inactive for at least 1 hour.
Visitors Location
Country based. And include or exclude locations.
Device type
Desktop or mobile
Visited page
Specific page on your site.
URL string keyword
The effectively gives you wild card capability, ex – “house” would match on https://example.com/house and https://example.com/houses-for-sale
Seen ConvertBox
If the visitor has been a particular campaign and ConvertBox.
Referring website
For other websites, ex – facebook.com, youtube.com.
Autoresponder activity
Your autoresponder needs to be connected to your ConvertBox account.
For ActiveCampaign, you have the option of showing the ConvertBox is the contact is (1) on a list, (2) not on a list, (3) has tag, and (4) does not have tag.
IMPORTANT: For this to work properly, either a contact has to have signed up through a ConvertBox or you link to your right in an ActiveCampaign email with a link that include ?activecampaign_id=.
For example, https://example.com/house/?activecampaign_id= or https://example.com/house-for-sale/?firstname=%FIRSTNAME%&activecampaign_id= (notice that in the second example, I uses an & instead of a ?).
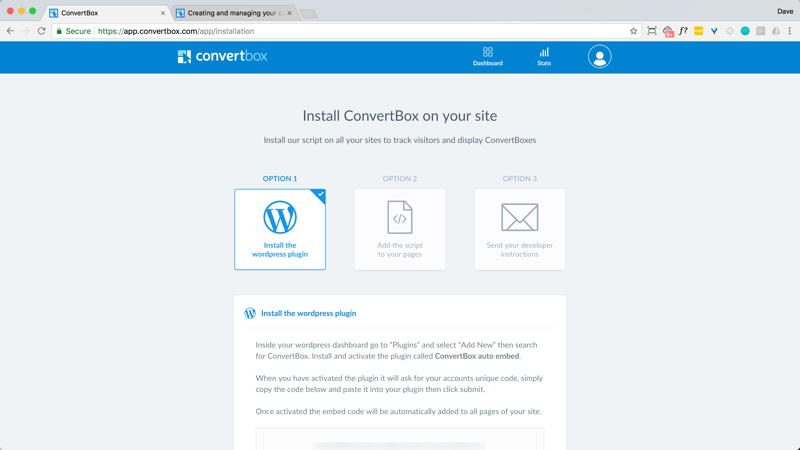
Install
Once finished, you will be prompted on how you want to integrate your ConvertBox. You can copy the appropriate embed code to the ConvertBox WordPress plugin on your site, add the javascript code to your site, or email the code to your developer.
That is how you get started with ConvertBox.